Table of Contents
- Introduction
- Step 1: Determine the Starting Point
- Step 2: Prepare the Mini Lights
- Step 3: Attach the Lights to the Banister
- Step 4: Running Power
- FAQs
- Conclusion
Introduction
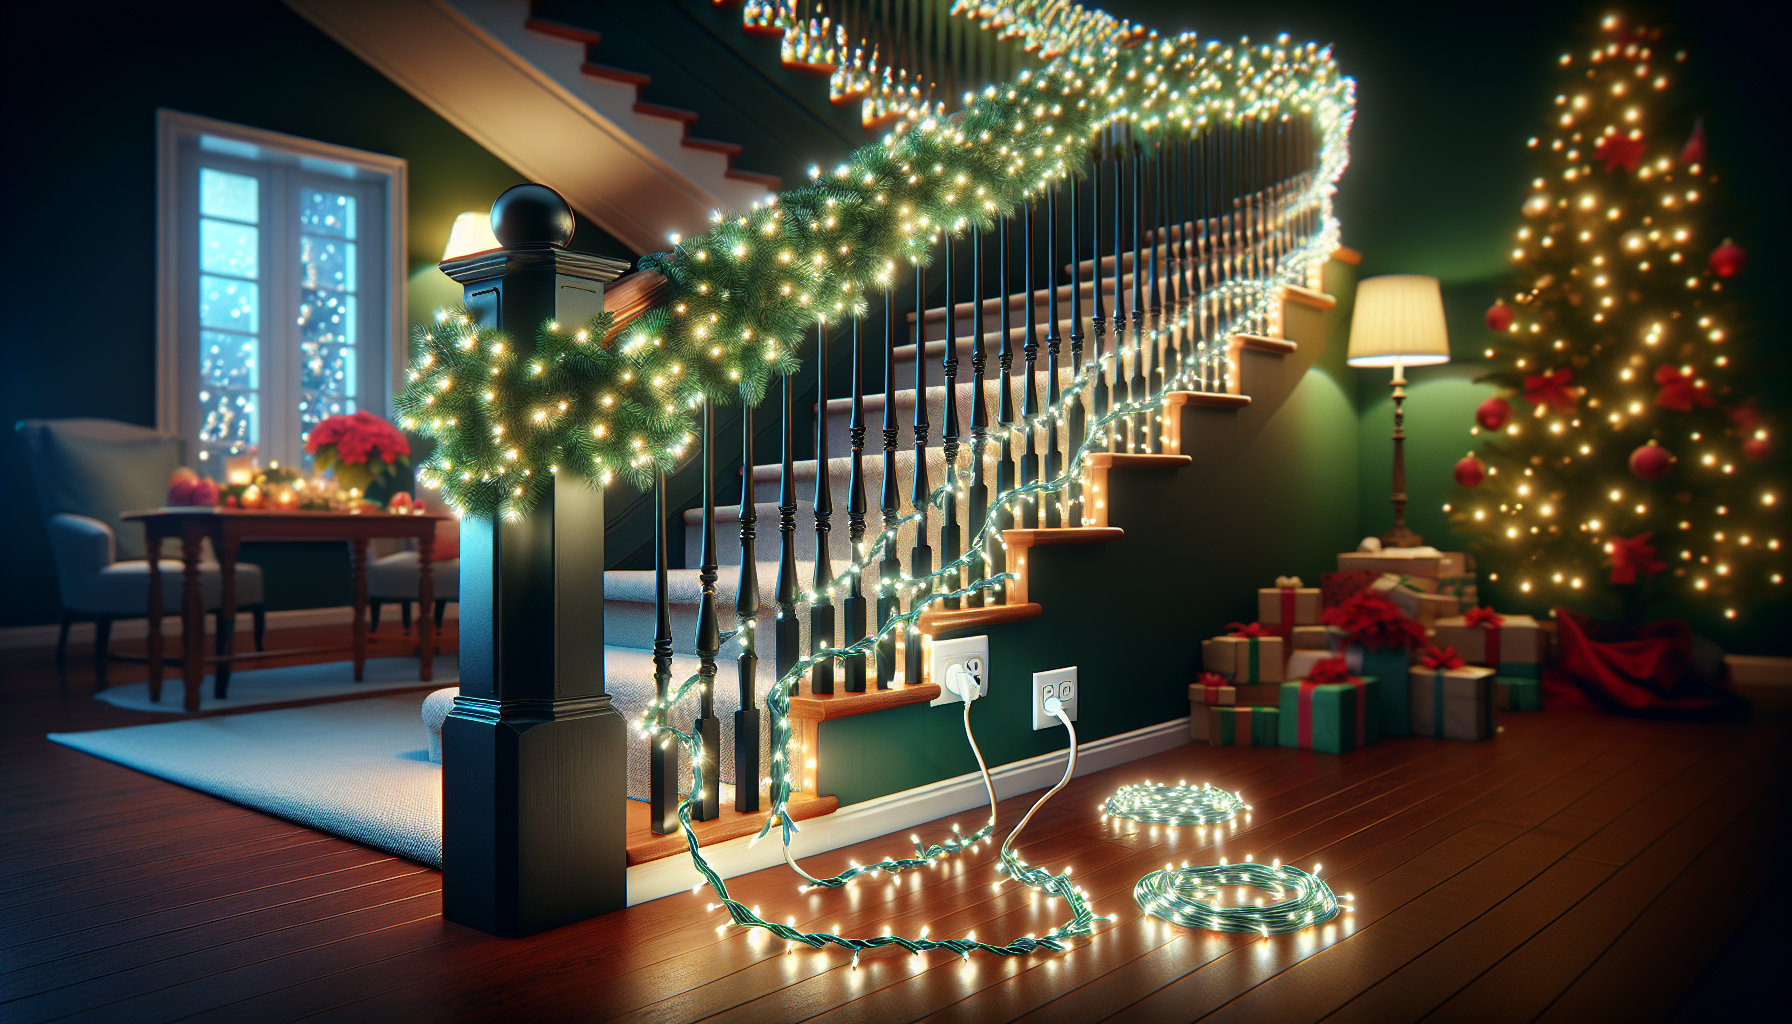
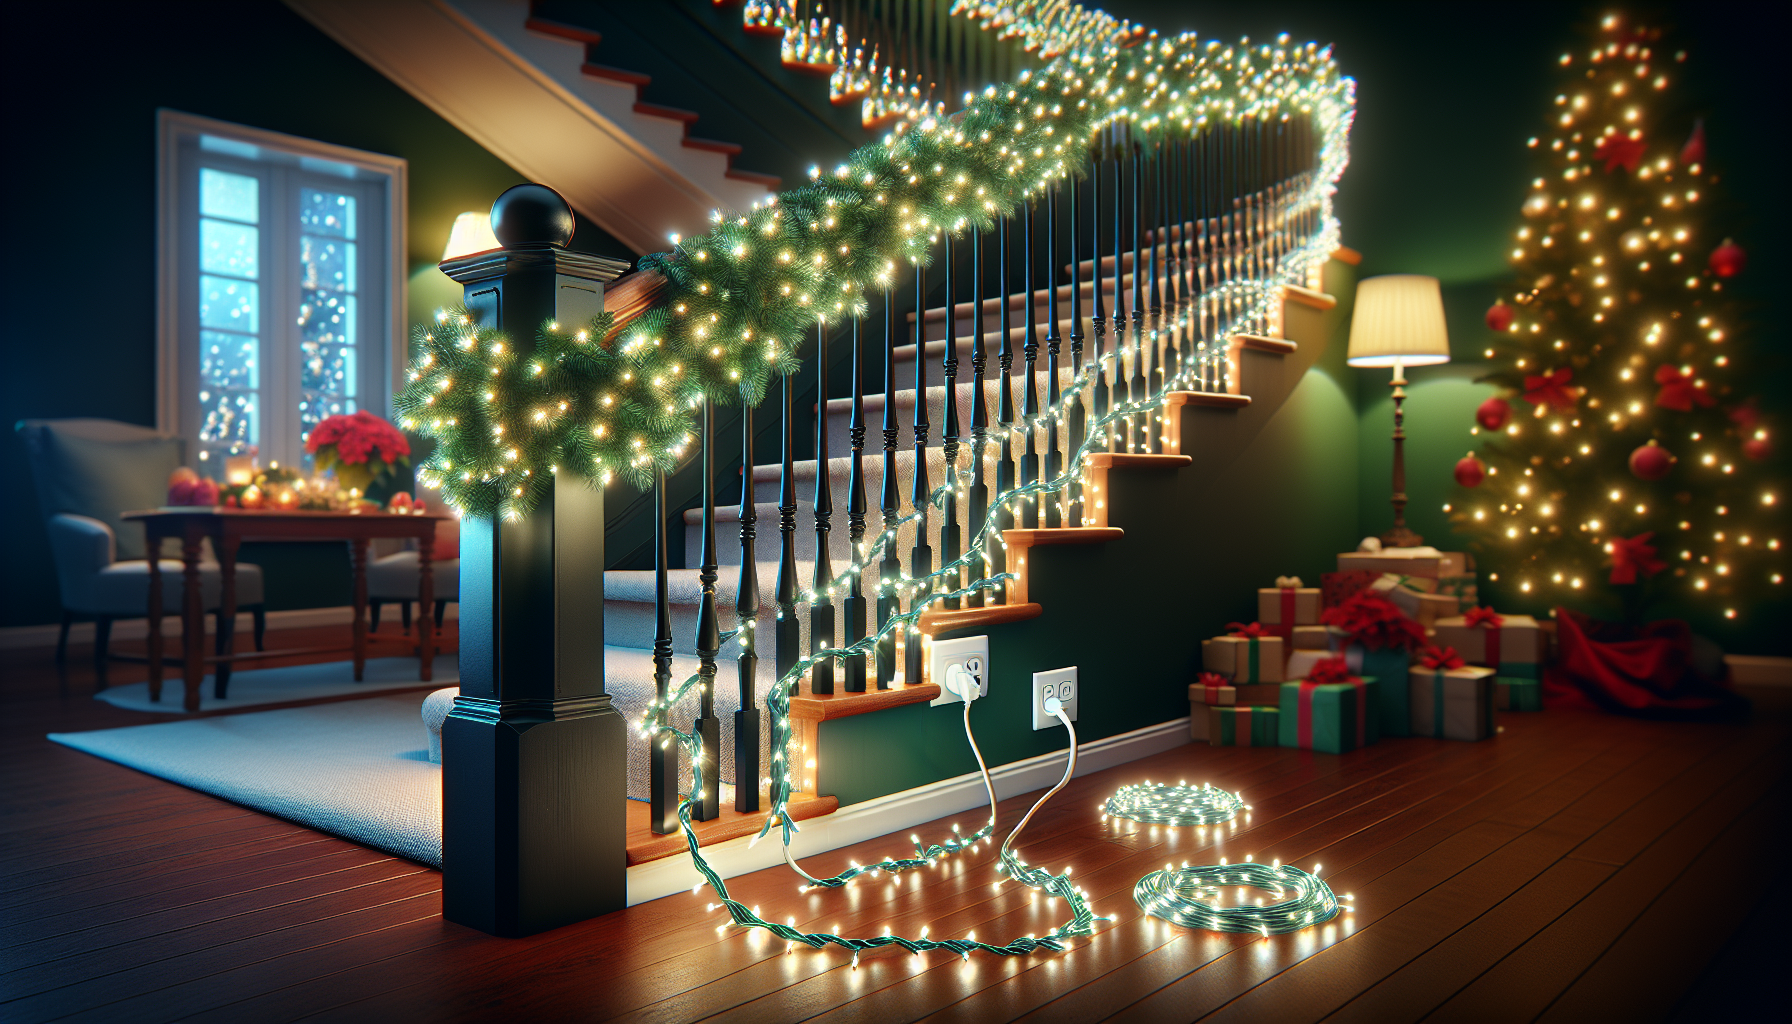
Welcome to our guide on how to put Christmas lights along a banister railing. In this article, we will walk you through the step-by-step process of installing mini lights on your banister railing to create a festive and beautiful display. Let’s get started!

Step 1: Determine the Starting Point
The first step is to determine where you want to start with your Christmas lights. Take a look at your banister railing and identify the end where you want to begin. In our example, we will start at the end closest to the power outlet.
Step 2: Prepare the Mini Lights
Before we begin wrapping the lights around the banister, let’s prepare the mini lights for easy installation. Take the female end of the lights and wrap it around your palm a couple of times to create a small ball. This will make it much easier to wrap the lights around the banister without getting tangled.
Step 3: Attach the Lights to the Banister
Now that your lights are prepared, it’s time to start attaching them to the banister. Begin by tying a knot around the first rung of the banister using the male end of the lights. Make sure to choose the appropriate color of wires based on the color of your banister. For dark-colored banisters, use green wires, and for white-colored banisters, use white wires. We recommend going through every rung of the banister with the lights to create an even and beautiful display.
Step 4: Running Power
Next, let’s talk about how to run power for your Christmas lights. If you have more banisters to cover, you can continue attaching the lights following the same steps. However, if you need to run power for the bottom banister, here’s what you can do:
4.1 Choose a Short Extension Cord
Find a short extension cord that matches the color of your banister rungs. In our example, we will use a white extension cord since the rungs of our banister are white.
4.2 Wrap the Extension Cord
Wrap the extension cord loosely around one of the banister rungs, ensuring that it is securely attached. This will help keep the cord in place and prevent it from getting tangled or causing any hazards.
4.3 Connect the Extension Cord
Connect the extension cord to the male end of the lights that are already attached to the banister. This will provide power to the lights and allow them to illuminate. Make sure the connection is secure to avoid any interruptions in the power supply.
4.4 Use a Green Extension Cord
If your extension cords need to go through mulch or any outdoor areas, we recommend using a green extension cord for better camouflage. This will help the cords blend in with the surroundings and maintain a clean and neat appearance.
FAQs
Q: How do I store the lights after the holiday season?
A: To store the lights after the holiday season, simply wrap them in small balls. This will prevent them from getting tangled and make it easier for you to unpack them next year. You can also tuck the other end of the lights inside the ball to keep everything tidy.
Q: Can I wrap the lights around trees using the same method?
A: Yes, you can definitely use the same method to wrap lights around trees. Wrapping the lights in small balls and attaching them to the branches will make the process much easier and ensure a beautiful display.
Q: How many times should I go through each rung of the banister?
A: It is a matter of personal preference. We recommend going through each rung once to create a bright and vibrant display. However, if you prefer a denser look, you can go through each rung multiple times.
Conclusion
Decorating your banister railing with Christmas lights is a great way to add a festive touch to your home during the holiday season. By following the steps outlined in this guide, you can easily install mini lights along your banister and create a beautiful display. Remember to determine the starting point, prepare the lights, attach them to the banister, and run power for a seamless installation. Happy decorating!


